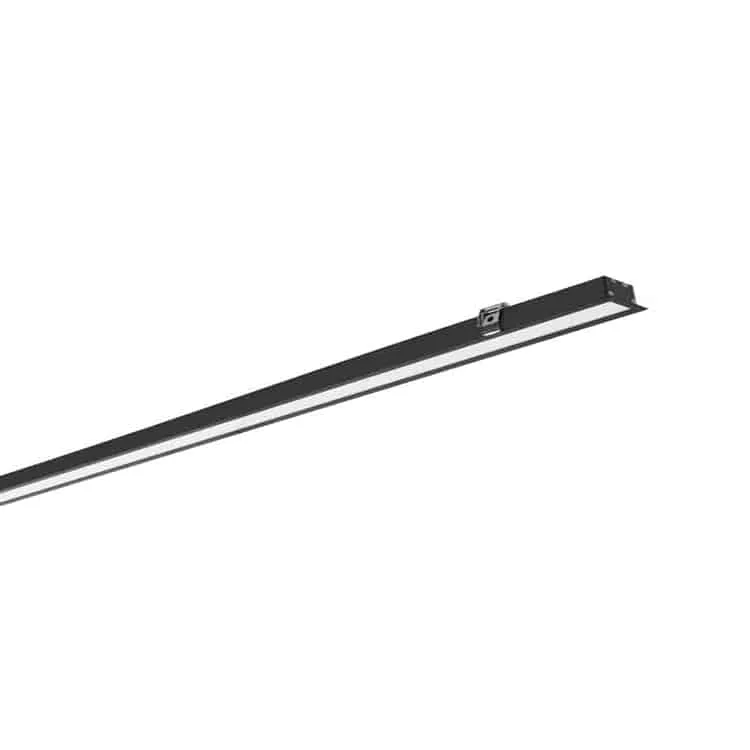
Linear Ceiling Lights Flush Mount LED Fixture | Model: GR-LS6535


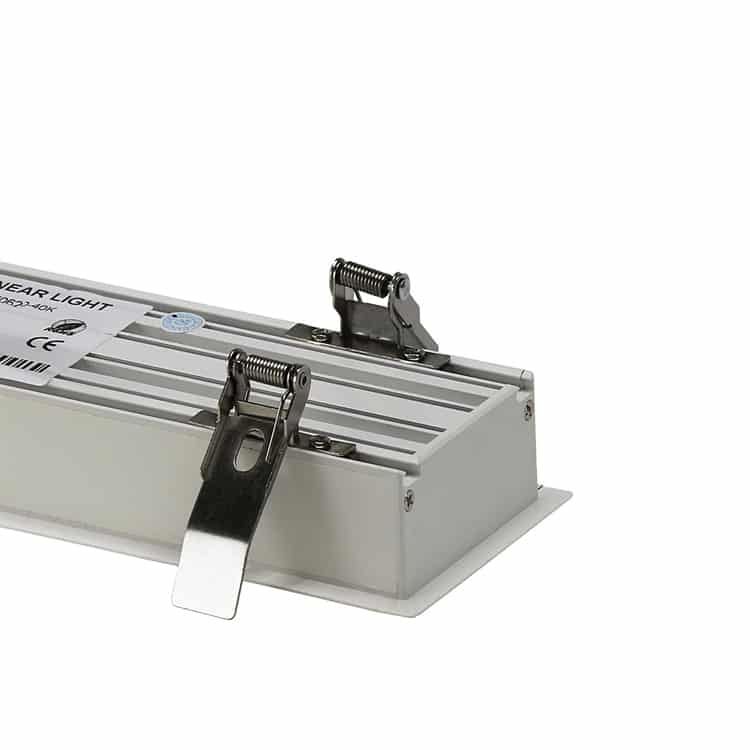
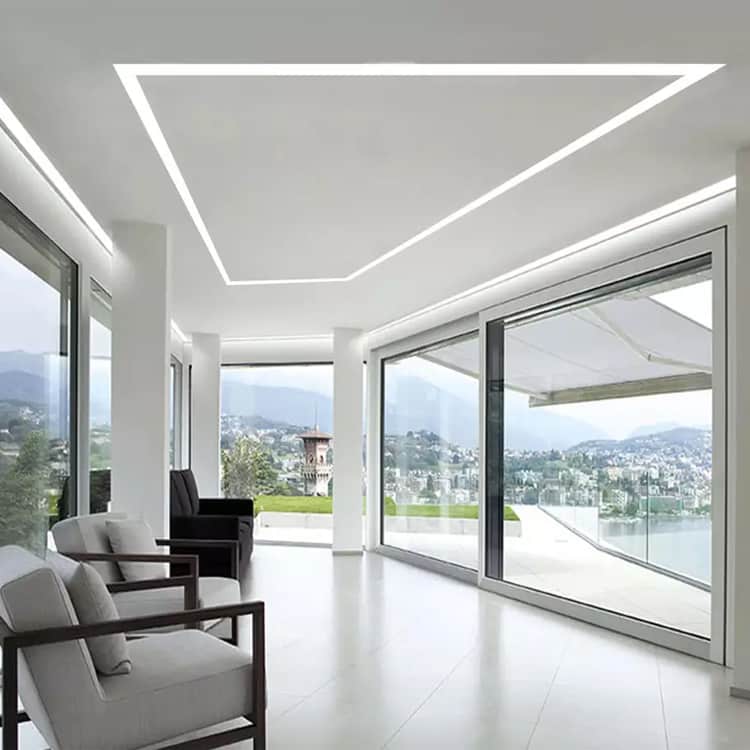


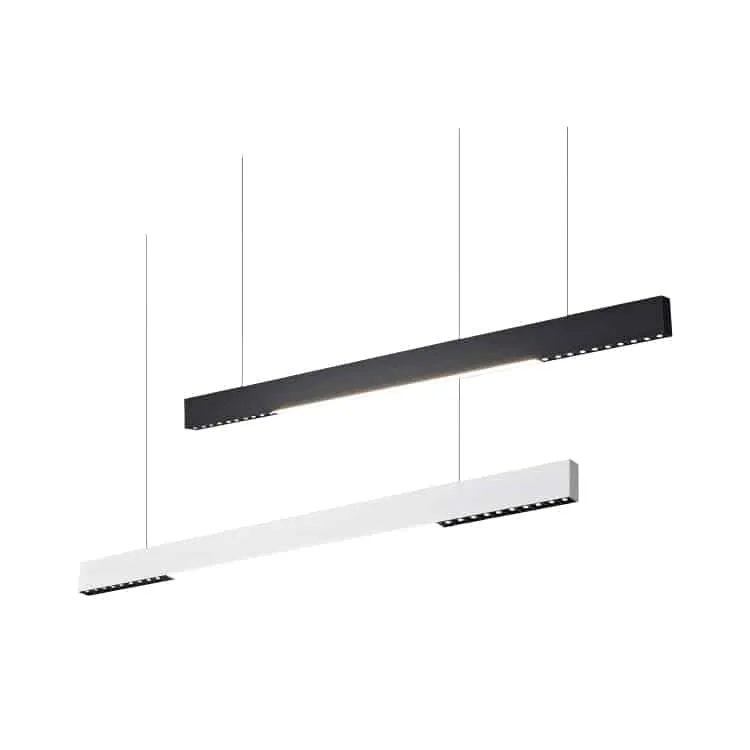
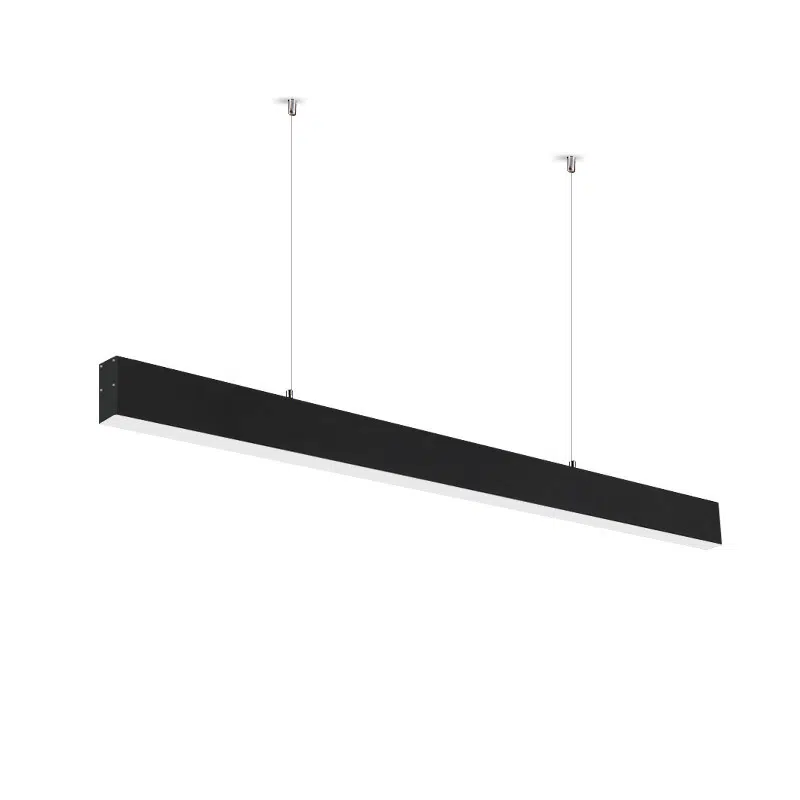
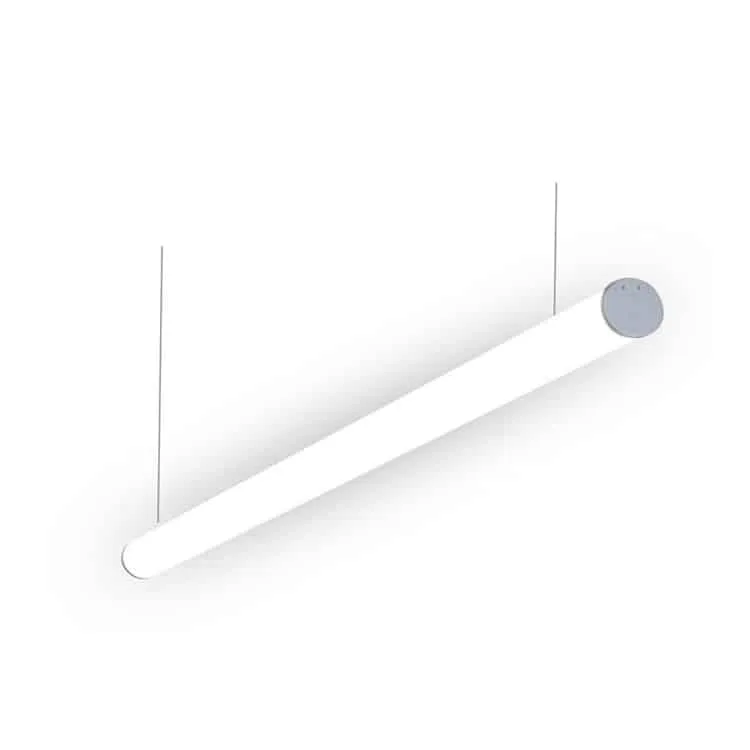
GR-LS6535 series is a recessed linear light designed primarily for installation within the ceiling or wall. The linear design ensures a uniform light distribution, providing ambient illumination and precision highlighting specific areas. This flush-mount ceiling light seamlessly integrates into architecture, offering a modern, unobtrusive lighting solution that is particularly well-suited for low-rise architectural spaces. The option for seamless splicing allows for the creation of various patterns, providing flexibility in design and enhancing the overall aesthetics of the space.
- Input voltage:100-265VAC 50/60Hz
- Structure: 2835 SMD, external driver, black/white/silver profile
- Size: W65* H35mm, length can be custom-made
- Compliance: CE, ROHS
- Warranty: 2/3/5 years
- Installation: Recessed
- CRI: >90
- LED driver: Eaglerise / LiFud/ Philips driver brand options
- THD: <15%
- Power factor: 0.5 or 0.9
- SDCM:<5
- Working life:> 50000 Hrs
- Material: Aluminum body+ PC, White/matt black options